Installing Apache Tomcat Server in Eclipse IDE
- If you do not have Apache Tomcat on your machine, you will first need to download and unzip Apache Tomcat (this scenario was written using Apache Tomcat version 5.0.28, but other versions can be substituted).
- Start the Eclipse WTP workbench.
- Open Window -> Preferences -> Server -> Installed Runtimes to create a Tomcat installed runtime.
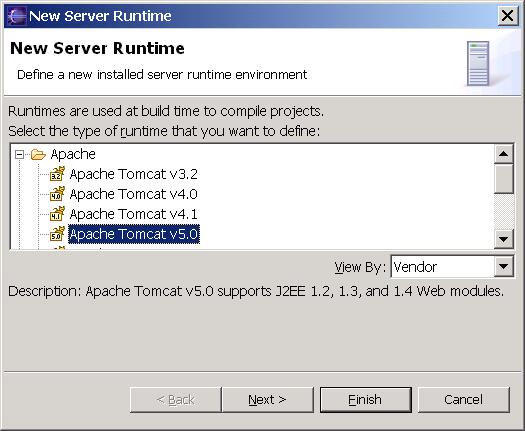
- Click on Add... to open the New Server Runtime dialog, then select your runtime under Apache (Apache Tomcat v5.0 in this example):
- Click Next , and fill in your Tomcat installation directory :
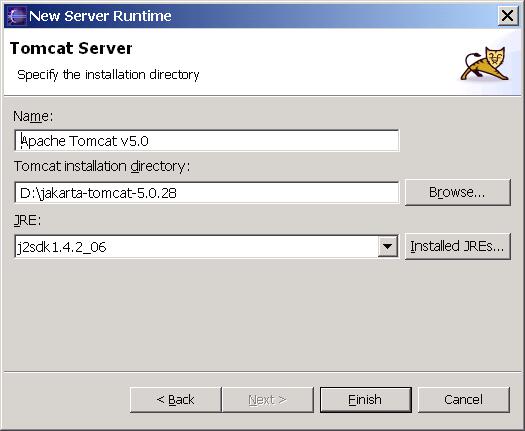
- Ensure the selected JRE is a full JDK and is of a version that will satisfy Apache Tomcat (this scenario was written using SUN JDK 1.4.2_06). If necessary, you can click on Installed JREs... to add JDKs to Eclipse.
- Click Finish .
No comments:
Post a Comment
Please Provide your feedback here